

How to set up your review form landing page for your Klaviyo flow
What you’ll build
You’ll create a dedicated Shopify page that contains the Roadmap Reviews Form. This page becomes the link you send customers to from your Klaviyo flow (email/SMS) so they can leave a review.
In the walkthrough, the form is added to a page template in the Shopify theme editor, then the page is created in Online Store → Pages and assigned to that template.
1) Create a new Shopify page template
In Shopify admin, go to Online Store → Themes and open the Customize (theme editor) screen.
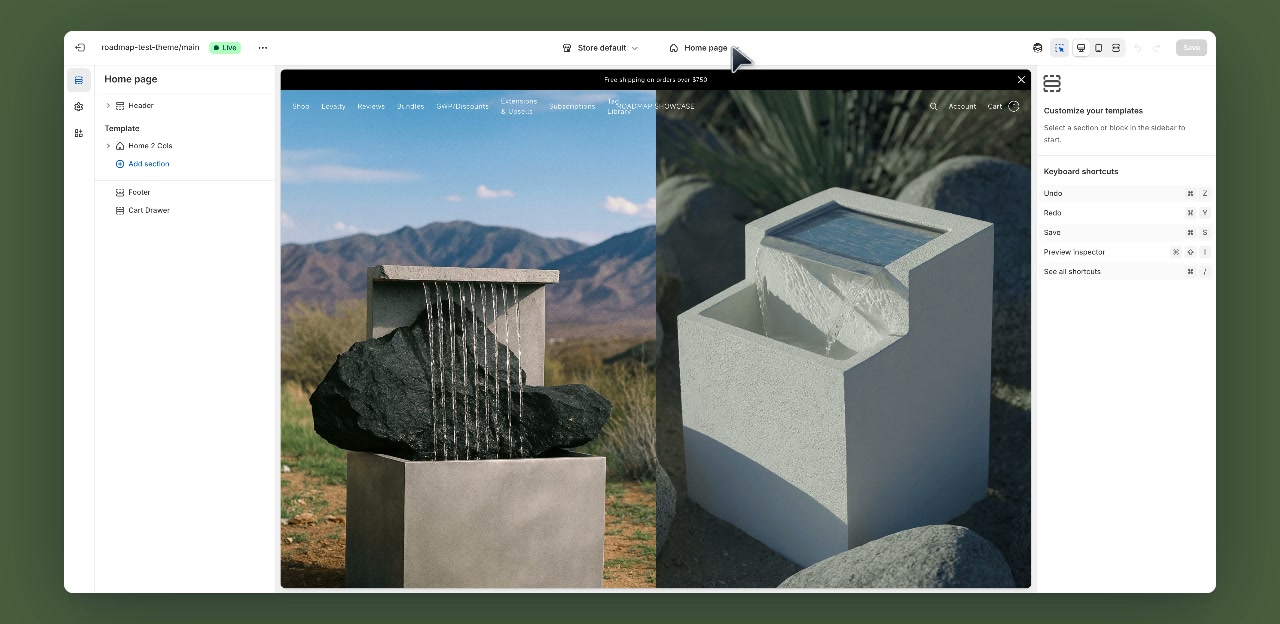
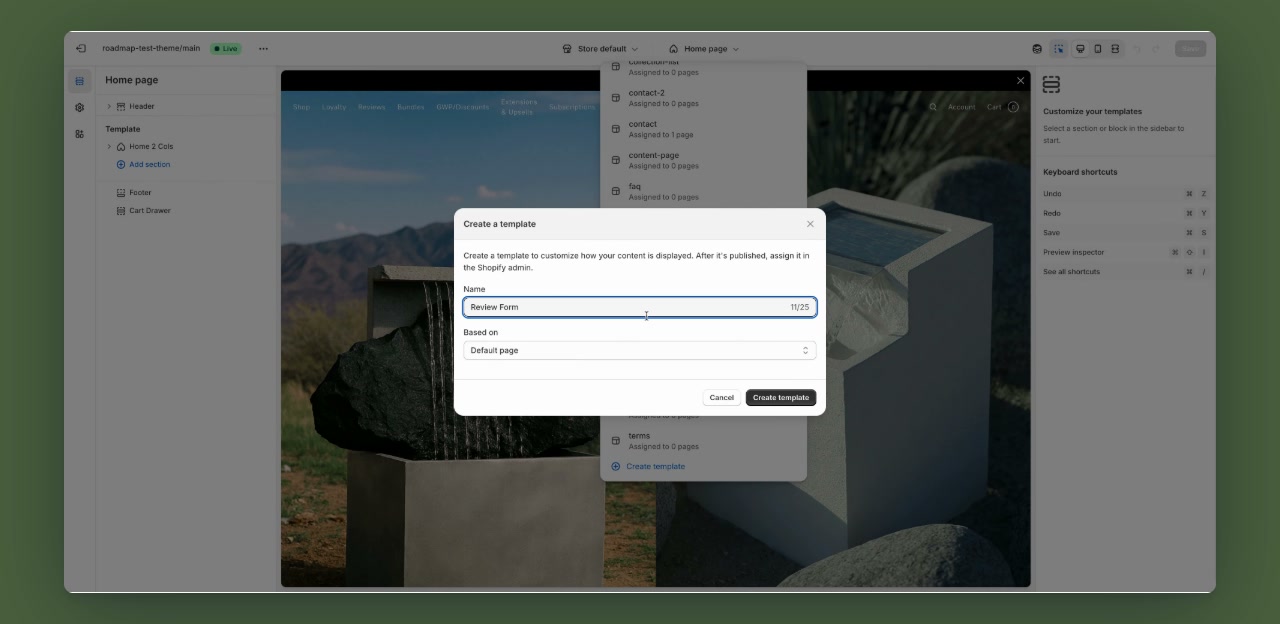
From the page selector at the top (for example Home page), choose to create a new template. In the Create a template dialog, enter a name like Review Form, then click Create template.
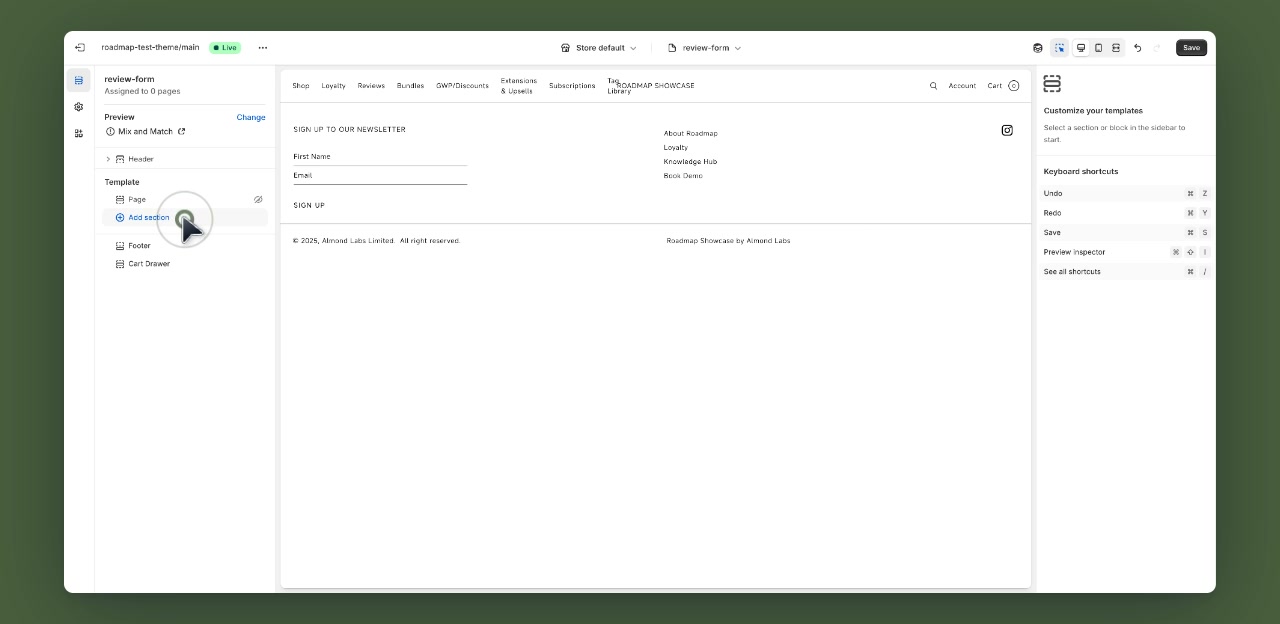
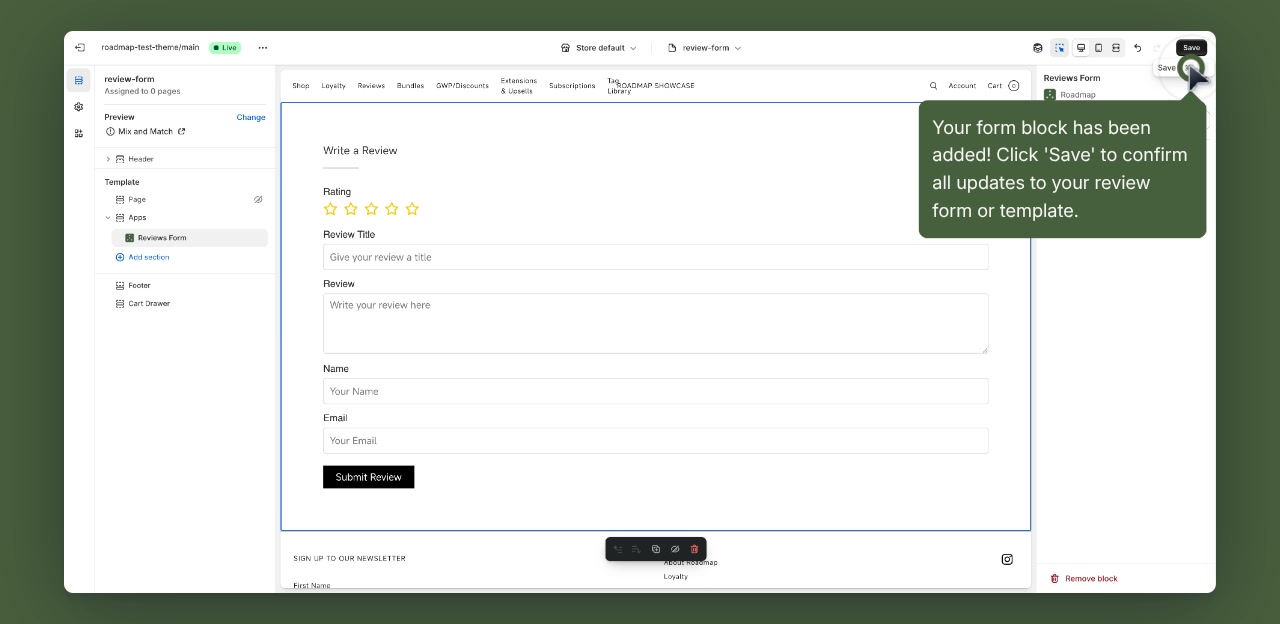
2) Add the Roadmap Reviews Form section to the template
In the template sidebar, click Add section.
In the section picker, switch to the Apps tab, then select Reviews Form under Roadmap.
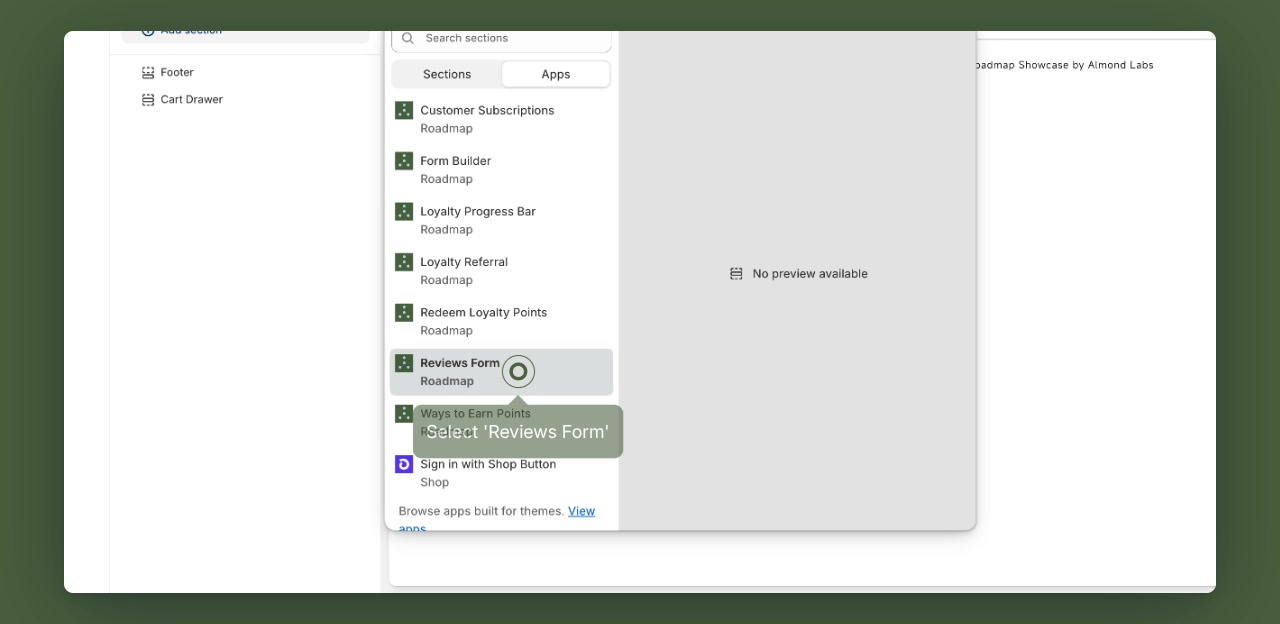
You should now see the review form fields on the page preview. Click Save in the theme editor to publish the template changes.
If you already have a “page” template you use for landing pages, you can add Reviews Form to that template instead of creating a brand new one.
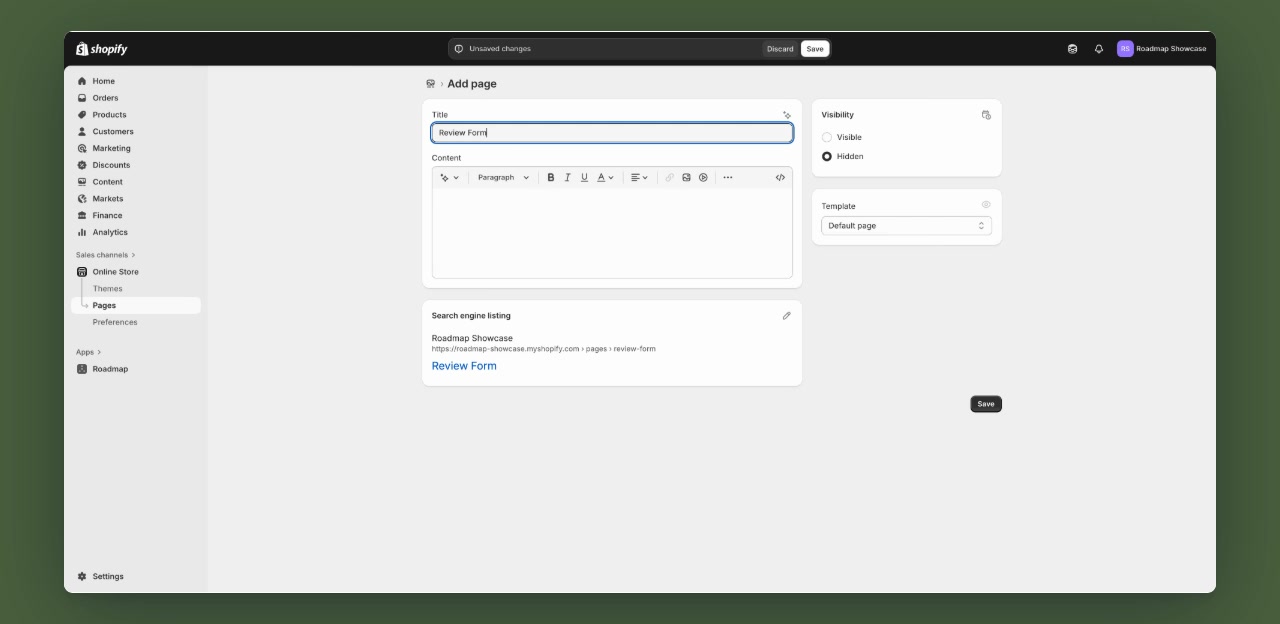
3) Create the Shopify page and assign the template
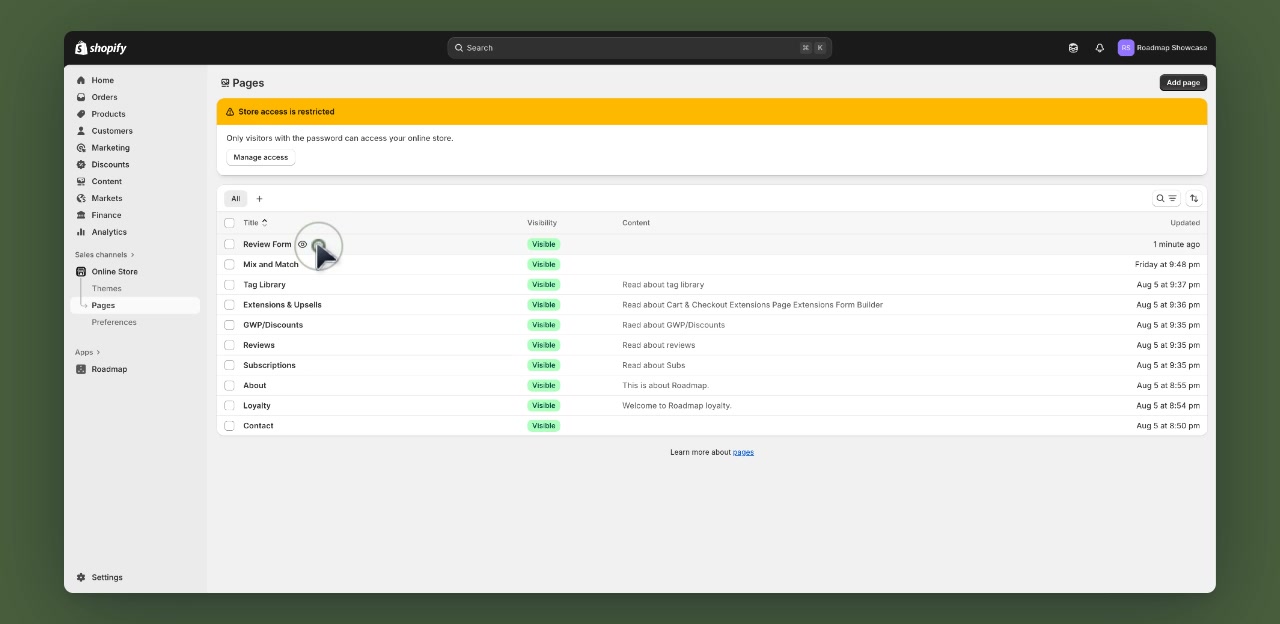
In Shopify admin, go to Online Store → Pages and click Add page.
Enter a clear title like Review Form. (The content area can be left empty since the form is added via the template.)
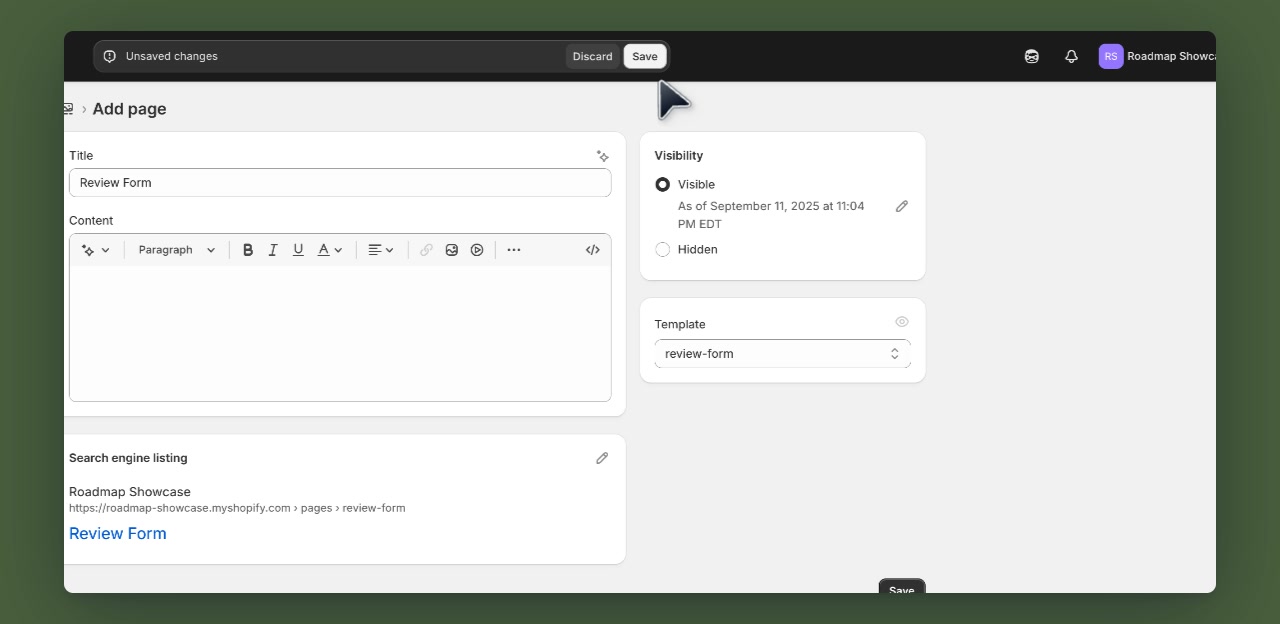
On the right side of the page editor, open Template and select your new template (for example review-form).
The exact template name shown here is Shopify’s handle version of your template name (for example, Review Form becomes review-form).
Click Save to create the page.
4) Customize the form in Roadmap
Now that the landing page exists, open the Roadmap app and customize what customers see when they arrive.
From Shopify admin, open Apps → Roadmap, then go to Reviews. Open the Review Form editor.

In the Questions area, click + Add Question to include additional questions on your form.
Questions can be marked Required and can also be set as Private Response (helpful when collecting feedback you don’t want displayed publicly).
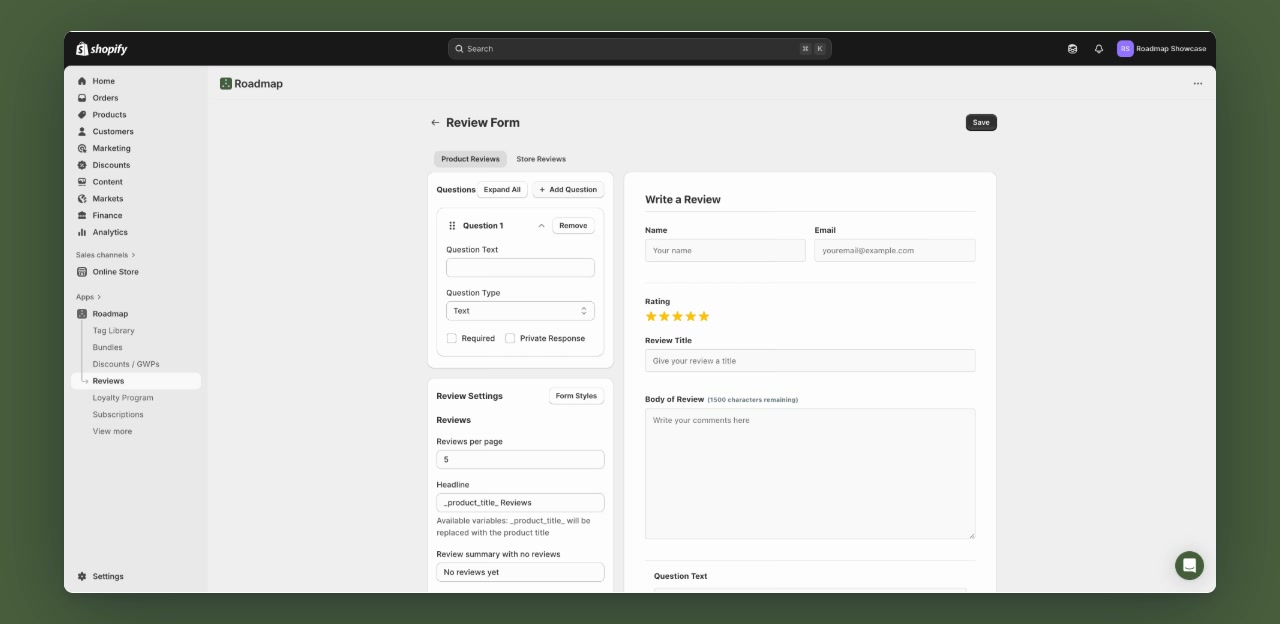
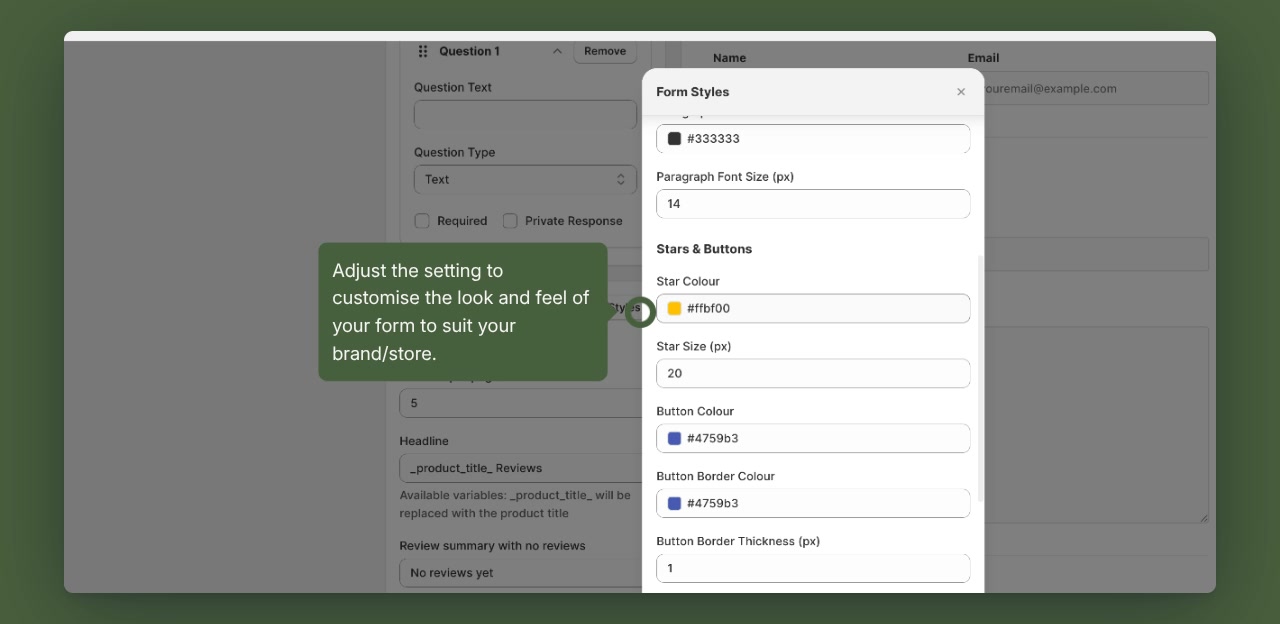
Click Form Styles to personalize the look and feel of the review form (colors, fonts, star/button styling).
Click Save in the Roadmap editor to publish your review form updates.
5) Copy the page URL for your Klaviyo flow
Back in Shopify, go to Online Store → Pages, open your Review Form page, and copy the page URL to use as the link in your Klaviyo email or SMS.
If your storefront is password-protected, customers won’t be able to access the review form page from your Klaviyo flow until the store is publicly accessible (or you remove the password).
FAQ
No. In this setup, the form is rendered by the theme template section (Apps → Reviews Form), so the page’s main content can be blank.
Open Roadmap → Reviews → Review Form and click Form Styles, then Save.